Smoked "Tandoori" Chicken
It has been five years since we purchased the Kamado Joe Classic Joe Series II 18-inch Ceramic Charcoal Grill and Smoker with Cart. And it has been an excruciatingly long time since I last blogged. So, here we go with a delicious solution as I am cooking. Tandoori chicken on Kamodo Joe. I won't do the "pure version" of doing everything from scratch. Instead, a quick path to food you'd like to make again. This is a result of at least 3 experiments so far.. I may continue to enhance this post as I discover ways to improve it over time, assuming my interest in blogging remains.
Cooking time:
- Marinade prep - 5-10 mins
- Marinade: 12 hours
- Grill prep: 1/2 hour
- Ensuring grill temp (230 F) is reached: 1/2 hour (will vary)
- Setting up chicken and temp probe: 10 mins
- Smoking the chicken: 30 mins to 2 hours (depends on flavor strength) - remote monitoring usually
- Final Searing: 10-20 mins
Equipment List
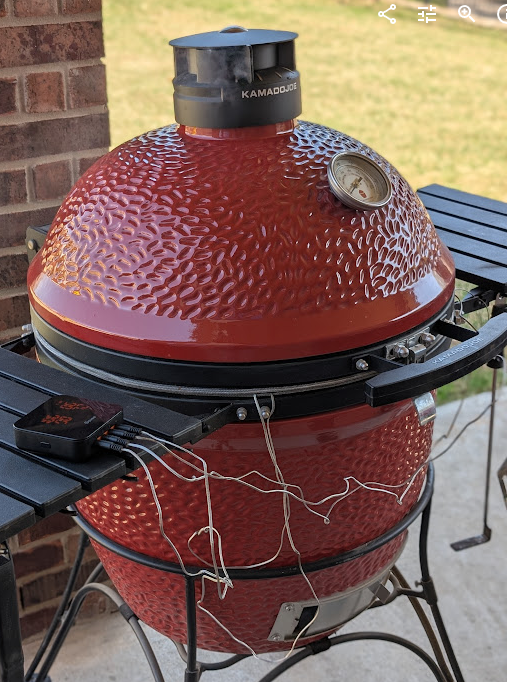
- Kamodo Joe Classic II - I will use the heat deflector with this.
- Ash basket
- Goovee Meat thermometer - some sort of remote thermometer if we are going to smoke the chicken
- Wood chips for the grill—Hickory or mesquite can be found at Lowe's, Home Depot, or any barbecue shop. I am experimenting with mesquite and hickory; I prefer mesquite now. (You can skip this if you want solely the classic coal taste in the chicken rather than any wood flavor.) Apple and cherry can provide a sweet taste, which might be a combination you prefer.
- Metal box without holes in the bottom (for water). (very optional)
- Coal: I am using a mix of Kingsford and large lump. We will explore this further later.
- Grill Set - you just need the tongs (and the brush to clean up afterwards)
- Mixing bowl for marinading the chicken in.
Ingredients
- Chicken leg quarters and drumsticks: I use the skinless ones from halal stores. Once washed, I cut slits in them to allow the marinade to soak in.
- I got two chicken packs with 4 Leg quarters per pack, around 6.6 lbs.
- Tandoori Chicken masala - I prefer Shaan Tandoori Masala
- it is approximately 1 pack for 1.5Kg / 3.3lb -> So I got two packs
- Yoghurt - Use the indian yoghurt that comes from indian stores.
- 1 cup for 3.3 lb, so I used a little more than 2 cups
- Ghee - I use Amul Pure ghee
- 3 tablespoons
- Lemon - 2 - 1 for the marinade and 1 for the final presentation
- 1 squeezed out for marinade
- Cilantro leaves - for garnish in final presentation.
Cooking steps
Well, it involves a lot of waiting, as BBQ usually does. Overall, there are just three steps: marinate, cook, and, my favorite, eat!
Getting the Marinade going
Marinate for no less than 3 hours (recommendation is 8 to 12 hours) and prefer overnight if possible.
Prep the chicken
- Clean the chicken under water
- Cut slits on the chicken on the fleshy side - typically two or three cuts per side of a chicken quarter should suffice.
Prep the mix
- Add yoghurt (2.5 cups)
- Add tandoori masala ( 2 packs)
- Add Lemon (1 lemon cut into two and squeezed out)
- Add Ghee (3 tbsp)
- Now mix thoroughly
Marinade
Simply combine the chicken and the marinade. Place them in One-gallon Ziploc bags to marinate overnight. Marinate for at least 3 hours; the recommendation is between 8 and 12 hours.
Note: we will not reuse the marinade mix later; any excess will be discarded.

Da Grilling
Start with a clean grill. Make sure that the ash collector is accessible from outside and lined up properly.


Crunch it all up and leave a hole for the smoke to escape.
Once you have the fire nicely going (I ran out of lump charcoal this time when I was taking photos), usually I use two layers: one layer of regular charcoal (on the bottom) and the lump chunks on top. I typically get a good start with this.


Close and wait for the temp to hit around 225- 230°F (about 107 - 121° C)

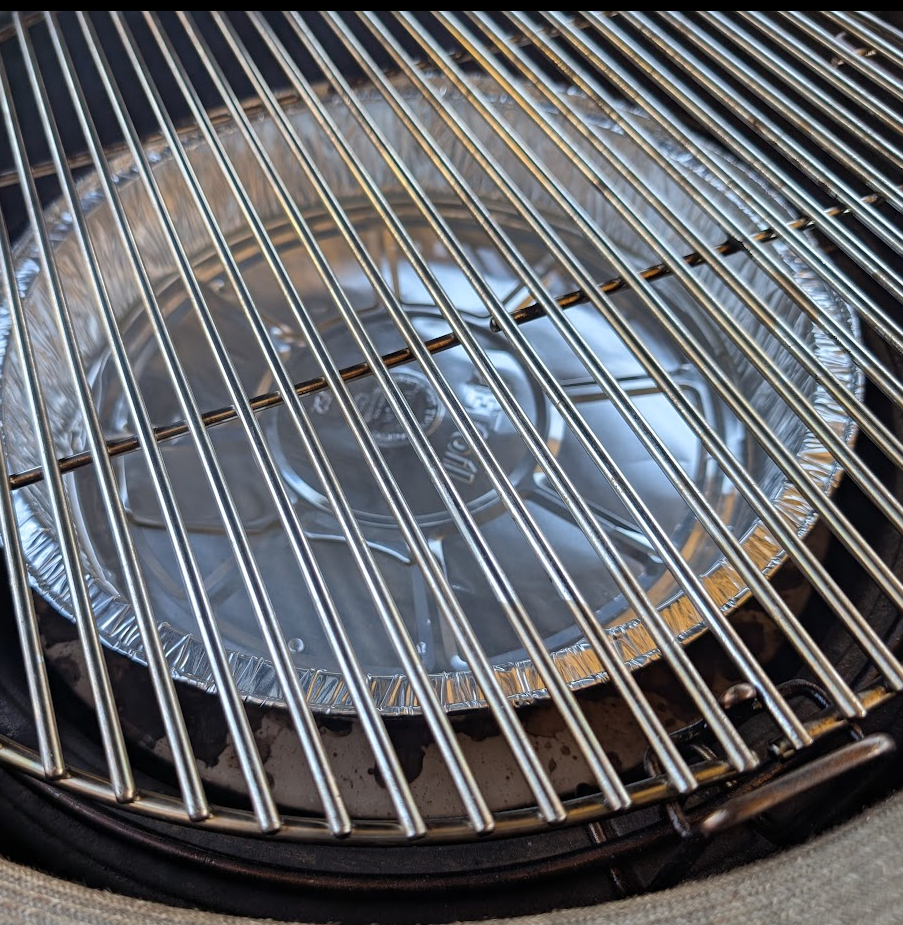
Now lay the chicken out with some water in the middle to prevent the chicken from drying out.

I usually like to use four thermal sensors: one each on the corners, another in one of the chickens in the center, and the last one just laid on top to see the approximate ambient temperature in addition to the kamado grill's sensor.
Now, we wait a bit for the chicken's internal temperature to reach 165°F, which is its cooking temperature. To end the cooking, I usually will let all parts of the grill monitor hit and stay at 165°F for at least 10-20 minutes.
The duration you choose to smoke will determine how much of the chicken will have the smoky flavor. I personally like a bit of an overwhelming flavor; many folks do not. So this can vary widely between 30 mins (slight) to 1.5 hrs to 2 hrs (overwhelming).
Alternatively, some folks suggest pouring ghee on the coal to get ghee smoke to flavor up the chicken.
This is precisely part of grilling, finding the balance between various variables for your unique flavor.


Once the temperature hits 165°F on the inside of the chicken, get a bowl and remove the chicken from the grill.
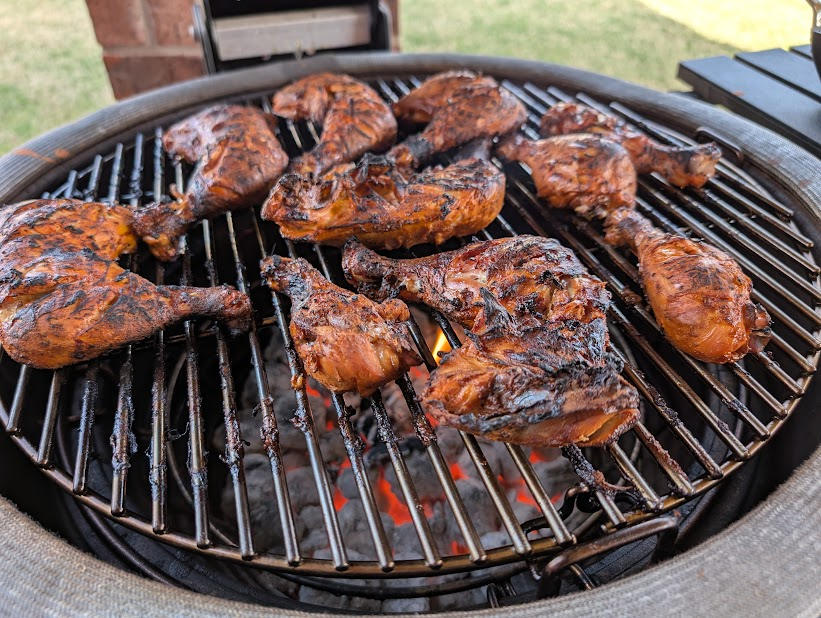
The last step in the process is searing the chicken. You want the chicken to have the "burnt edges" look to feel authentic. Anyways..
Remove the heat deflector, replace the top grill, close the lid, and open all vents to raise the temperature to 400°F or higher—this is merely a cosmetic step since all the cooking is already done. We place the chicken back on the grill and close the grill to ensure the chicken's surface gets charred to your liking.


Voila. You have the juiciest chicken tandoori to rally your taste buds with...
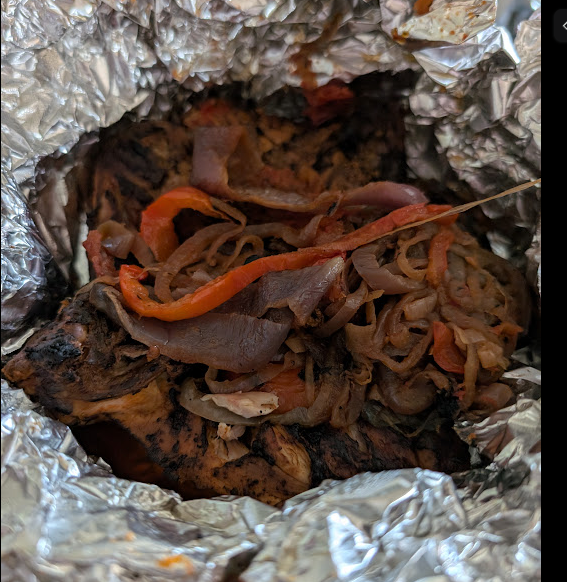
Presentation
I prefer using aluminium foil to wrap the chicken in a heat-retaining, insulated casserole like this. Some cilantro leaves as garnish and lemon slices will help set the stage.
Comments