Coal-Fired Pizza
My kids love Pizza. My wife and I, on the other hand, have left our love for Pizza behind. But, with the kids in tow, I started researching how to make a decent pizza from scratch. YouTube is filled with recommendations, so I had to make some choices for my very first Pizza.
If you're looking for a quick-cooking Pizza, this isn't the recipe for you. This will take around 2 days, including fermentation and some work.
As usual, Kamado Grill Classic is again my go-to cooking platform.

References:
- John Setzler's 'Kamodo Joe Pizza'.
- John Kenall's 'Easy Pizza Dough Recipe'.
- Vito Lacopelli's 'How to Make Perfect Pizza Dough at Home' and 'freeze the Pizza for later'.
Goals:
Everyone has so many variations for making Pizza dough. I never realized the debate of Biga vs Poolish dough making. Before we get into all the details, I set some goals.
Type: I wasn't going for Neapolitan-style, very high-heat Pizza. The temperature range in Kamodo is barely there, and I'll need wood to reach that 500 °C/900°F temperature anyway. Meh. Naah!. Regular Pizza will be the first goal.
Size: Kids, so 6-inch custom Pizzas. If I go with a 12-inch, I'll have fights over which combination each kid wants.
Toppings: We'll have to customize it per kid here - cheese, veggies, and pepperoni are the common theme.
Time: Today is Friday evening. So I'd like the Pizzas for dinner on Saturday.
Amount: Around 6-8 pizzas - we might need to keep them frozen for a couple of weeks.
I am impressed by Vito Lacapelli's Poolish mix. So, I decided to go down that road and take advice from John Setzler's comment that dry dough would make sense in Neapolitan-style, but not as much when going regular, due to the longer cooking times. I also plan on incorporating some of John Kenall's comments on how to add ingredients to get some flavor in the crust and then introducing the final stages of cooking.. So, this is going to be a fun blend of various styles and feedback. Let us see..
 Ingredients:
Here is what I am working with:
- Flour: Gold Medal Pizza. 2lb.
- Yeast: Fleischmann's Active Dry Yeast. Each pack is 1/4 oz.
- Honey: Berryville Clover honey. If you don't have this, sugar will suffice just as well.
From Vito's Video - ratios applied to what I have:

He uses 5g of yeast for 1,500g (about 3 pounds) of Flour. So,
with a 2lb (~900g) pack of Flour, I will need about 3 g of yeast. Working with that ratio, the following ended up making 12 6-inch Pizzas.
with a 2lb (~900g) pack of Flour, I will need about 3 g of yeast. Working with that ratio, the following ended up making 12 6-inch Pizzas.
Poolish:
- Yeast: 1/2 of a 1/4oz pack= 1/8 oz (~3.5gm)
- Water: 210 ml / g
- Flour: 7 oz (210gm) (~0.5lb)
- Honey: 1/8 oz (~3.5gm)
Final Dough:
- Remaining Flour - ~1.5lb (680gm)
- Water - ~400 ml / g (I think the math comes to 350ml, I am adding a bit extra because I think I will have a longer cook time at a lower temp on the Grill)
- Sea Salt - ~4/5 - 0.8 oz (~20g)
- Olive Oil
- Ginger and garlic powder - a teaspoon or so of each to add flavor to the crust.
Cross-check with Baker's percentages:
Baker's Percentage = (Ingredient Weight / Flour Weight) * 100
Flour: 100% (900g)Water: 67% (610g)
Salt: 2.2% (20g)
Yeast: 0.3% (3.5g)
Honey: 0.3% (3.5g)
Toppings:
You could go very basic with a Cheese Pizza, OR go bonkers with a Meat-Lover Paradise mode.
- Mozzarella cheese - you'd like to get this instead of what I have in the fridge.
- Rao's Pizza Sauce - but you can make do with proper tomato sauce, Basil leaves, etc.
- Pepperoni toppings.
- Bell Peppers
- Onions
- Fresh basil leaves
- Dry oregano
Equipment:
Poolish:
- Kitchen scale - any one of those under $10 will easily work as well.
- A container with a lid for culturing the Poolish. The Poolish will grow somewhere up to three times its original size before settling down.
- Dishes, Spatula, measurement spoons, measurement cups, and an odd spoon or so for mixing
Final Dough:
- Some place to work your dough. I got this pastry mat, which works fine for me.
- Some folks on YouTube use either a KitchenAid or Hamilton Beach mixer. I have neither. So it's a mixing bowl and a pastry mat for me.
- Dough cutter and scraper
Final Pizza grilling:
If you want to go the easy route, either using a home oven with a pizza stone or this standalone oven might work. But there is no fun in that. So, here we go..
- Kamodo Joe Classic II - I will use the heat deflector with this.
- Ash basket
- Pizza Stone
- Non-contact infrared thermometer. This is primarily to check the temperature of the Stone.
- Wooden Peel and a Metal Peel - I suspect I shouldn't have bought both, but I did. Anyway, the plan is to do the final layout on the wooden peel and pull it off the Grill with the metal peel.
- Spacer - you can get firebricks like these, or kiln posts. You can also drop by Lowe's or Home Depot to pick up 4 3/4-inch 90-degree elbows and lay them on their side. If you are further worried about stability, get 3/4 inch pipe and connect them, though make sure to leave at least one end of at least 1 leg not screwed in to allow air flow. You want the Pizza stone to be around 1.25 inches to 1.5 inches above the heat deflector. And, importantly, you do want stability; the last thing you need is one end to drop down and a hot mess on your hands.
- Coal: As usual, I'm using a mix of Kingsford and large lumps. A layer of Kingsford at the bottom and a large lump piled on top. It is a whole basket due to the number of Pizzas to make.
- Grill Set - you just need the tongs (and the brush to clean up afterwards)
- Pizza Cutter
Cooking
For each stage, ensure that all the ingredients are available with the correct weights before starting.
Making the Poolish
You want to start this at least 24 to 28 hours before the planned dinner. This stage takes around overnight, but the actual work only takes 10 minutes, followed by a one-hour wait before putting it in the fridge. Start off on Saturday morning if you like a Sunday night Pizza. Most of it is for fermentation.
Phase 1: Getting yeast ready
- Warm the water to a lukewarm temperature between 90°F and 100°F (32°C to 37°C).
- Add the 1/2 pack of yeast to it.
- Add Honey to feed the yeast.
- Wait 7-10 minutes for the yeast to rise and bubble.

WARNING: If a foamy head doesn't form within about 10 minutes, restart the process. The water may have been too hot, or the yeast may be too old.
Phase 2: Mixing the Poolish
- Next, we add the Flour and mix thoroughly. If we need to add a little lukewarm water to get the watery Poolish, do so. Remember, Poolish is a highly hydrated process. It has to be liquid-like.
- Wrap it in cling film, and use the cover to ensure there is no air intake.
- Keep it on the stove, where we warmed up the water - the stove should now be just warm and forms an ideal place for the yeast to grow.
- Leave it alone for 1 hour - the dough should at least double in size.
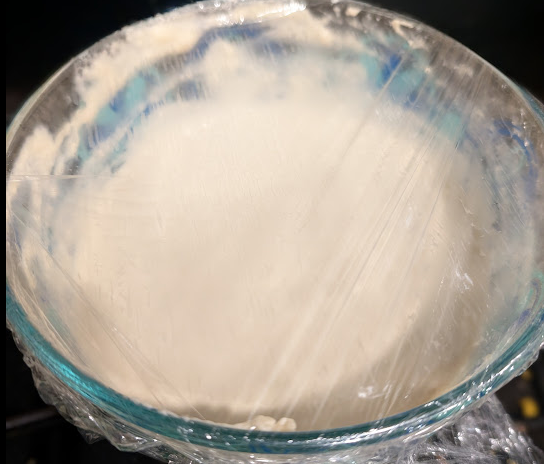
Phase 3: Letting the Poolish culture out for 16-24 hours
- Keep it covered and move it to the regular cool section of the fridge for 16 to 24 hours. Yeast will grow and settle down.

Making the Dough
There are multiple phases here - this will take an estimated 3 hours. You also want to start this off earlier than when the hungry kids start screaming for Pizza.
Phase 1: Mixing in the bowl
- Add water to the bowl and transfer the Poolish to the bowl using a spatula.
- Now briskly whisk the mixture to ensure that all the Poolish is properly mixed with water.
- Add Salt and Sugar to the Mix
- Briskly whisk the mixture to mix it up

- Add most of the Flour to the Mix, whisk thoroughly
- Add ginger and garlic powder (optional) to the Mix, and continue whisking

- Add the remaining Flour to the Mix.
- Continue mixing; it will harden, but it needs to be consistent..

Phase 2: Kneading the Mix
- Put some flour on the pastry sheet/counter
- Put olive oil on your hands
- Transfer the Mix from the bowl to the pastry sheet or counter completely
- Knead the Mix to create a consistent and well-mixed dough. Follow Vito's technique for this.
- Cover the Mix with the bowl and let it rest for 15 minutes.
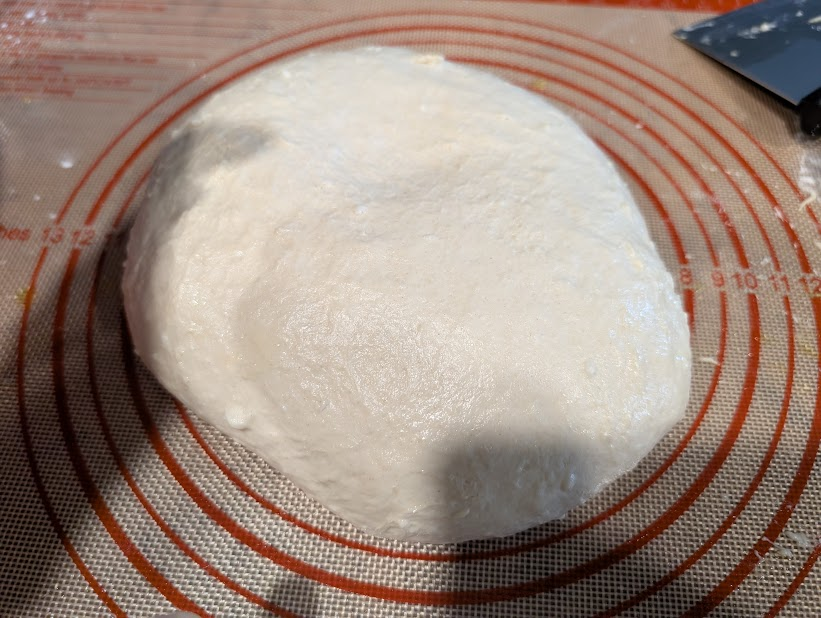
Phase 3: Create a shiny Dough Ball
- Lift and mix the dough - Follow Vito's technique again for this.
- Add some oil to the bowl
- Transfer the dough ball to the bowl
- Close the bowl
- Let it sit at room temperature for 30 minutes.

Phase 4: Create Pizza Dough Balls
- Oil your hands
- I use a little oil on the pastry sheet, but you can also use Flour for the same purpose.
- Cut the Mix into three or four parts.
- Cut and roll up each dough ball as needed - Follow Vito's technique again for this.
- Lay the Pizza Dough balls out on a sheet or tray and cover them well with cling wrap to prevent air from getting in.
- Let it sit for 1.5 hours to 2 hours.

The Grill

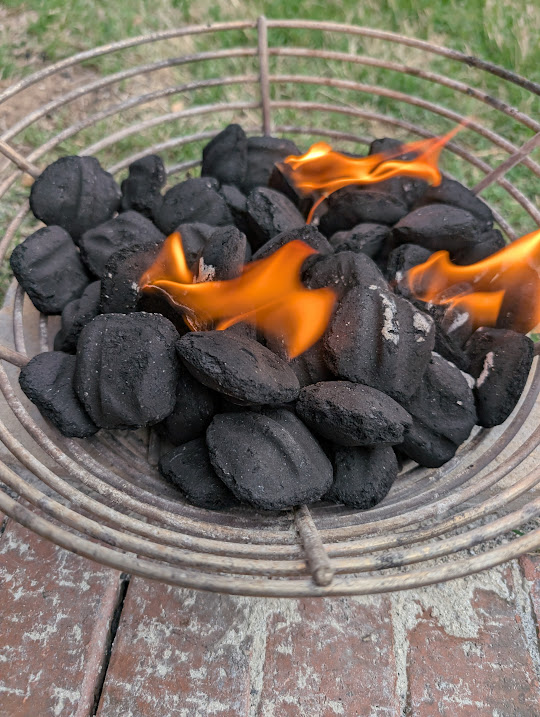
Lay the Kingsford coal at the bottom and start a nice fire going.
- Transfer the lump charcoal to the Grill and lay the layers on top.
Make sure to stack up a bunch - Next, lay the separators and Heat deflector on top
- Lay the separators on top (for example, the pipe elbows)
- Lay the Pizza Stone on top
- Now control the temperature in stages - the idea here is to make sure the Pizza stone is at the same temperature as the top gauge.
- Let us bring the temperature up to 300°F at stage 1
- Then bump to 400 F
- Finally, set the temperature to around 500°F and let it cook for at least 10-20 minutes before laying out the Pizza.

Making the Pizza

- Oil the hands
- Put some flour on the wooden surface.
- Slowly stretch out the Pizza dough ball over the wooden peel. After a few attempts, I found it's easier to carry it in one hand and let gravity do the work.
- First, spread out the Sauce on top
- Next, spread the cheese out
- Lay out the ingredients
- Then spread a bit more of cheese and Basil as needed.
Cooking the Pizza
- Transfer the Pizza to the Stone using the metal peel and the wooden peel.
- Once you have organized the Pizzas on the Stone, close the cover
- Maintain the temperature
- Using around 10-15 minutes of cooking time worked best.

And Voila.. Pizza!

And guess what? ALL 12 Pizzas were consumed over dinner! Nothing left to Freeze! Hah!
Comments